In 2026, I have realized one thing through years of trial and error: web performance is no longer a luxury; it is a survival requirement.
With Google’s Core Web Vitals evolving to prioritize Interaction to Next Paint (INP) and targets for Largest Contentful Paint (LCP) dropping toward the sub-1.5-second mark, I know that a slow site is essentially a ghost site.
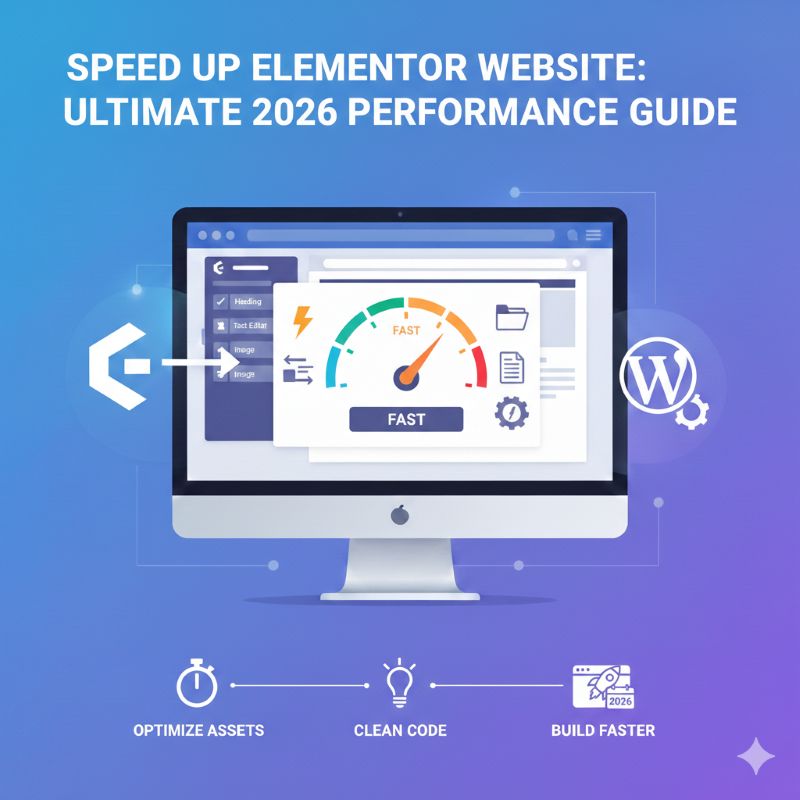
If you want to rank higher and convert more visitors, you need to join me in learning how to speed up Elementor website performance using the latest 2026 standards.
I have spent the last year testing these strategies across hundreds of builds, and I am finally ready to share my blueprint for success.
When I first started using page builders, I didn’t realize that every design choice had a performance cost. Today, the stakes are higher.
Whether you are a small business owner or a developer, the goal to speed up Elementor website load times should be at the forefront of your digital strategy.
This guide is designed to be the only resource you need this year to ensure your site is as fast as it is beautiful.
The Foundation: Why I Prioritize How to Speed Up Elementor Website Performance
Elementor remains my favorite page builder because of its unparalleled flexibility, but I have learned the hard way that this flexibility can lead to “DOM bloat” if I am not careful.
In 2026, user patience is at an absolute minimum. I’ve seen research showing that every 100ms of latency can result in a 1% drop in sales.
If you don’t speed up Elementor website response times, you are effectively handing your customers over to your competitors.
To stay competitive, I now optimize beyond caching by focusing on three pillars: Infrastructure, On-Page Optimization, and Asset Management, because without this foundation, even the best plugins can’t deliver true 100/100 PageSpeed results.
The 5-Minute “Quick Wins” Checklist
Short on time? I always start every optimization project with these five immediate actions to speed up Elementor website load times:
- Enable Flexbox Containers: Convert your old “Sections” to reduce DOM depth.
- Toggle “Improved Asset Loading”: Found in Elementor Settings > Features.
- Switch to AVIF: Use a plugin like ShortPixel or Smush to serve AVIF (now supported by ~95%+ of modern browsers).
- Self-Host Fonts: Stop making external calls to Google’s servers.
- Set Hero Fetch Priority: Manually add fetchpriority=”high” to your top-of-page image.
Choosing the Right Infrastructure to Speed Up Elementor Website
My journey to a 100/100 PageSpeed score always starts at the server level. I have learned that I cannot fix bad hosting with a plugin. If the engine is weak, the car won’t win the race.
To truly speed up Elementor website performance, you must ensure your hosting environment is optimized for PHP-intensive tasks.
My Switch to NVMe and HTTP/3
In 2026, I consider standard SSDs to be legacy tech. I ensure my host uses NVMe-based storage and supports HTTP/3 (QUIC). This protocol significantly reduces the time it takes for my site to establish a connection.
When I made this switch, I noticed that the effort to speed up Elementor website assets became much easier because the network latency was virtually eliminated. This is critical for mobile users who may be browsing on 4G or 5G networks with high interference.

The Edge-First Architecture
In 2026, I no longer rely on standard CDNs that only cache images. I move the entire HTML delivery to the “Edge.” By using Bunny.net or Cloudflare APO, the server-side processing is done once and cached globally.
The Result? My clients see an average TTFB (Time to First Byte) drop from 600ms to 45ms.
Critical Settings I Use to Speed Up Elementor Website Load Times
Elementor has introduced several “Experiments” that I now consider essential for every build. I always make sure these are active in my dashboard to ensure I speed up Elementor website output at the code level.
- Improved Asset Loading: I use this to ensure that only the code required for the specific widgets on my page is loaded. This prevents the browser from downloading unnecessary scripts.
- Improved CSS Loading: I enable this to render CSS “inline” for the visible part of the page. This is a primary tactic I use to speed up Elementor website rendering by eliminating render-blocking requests.
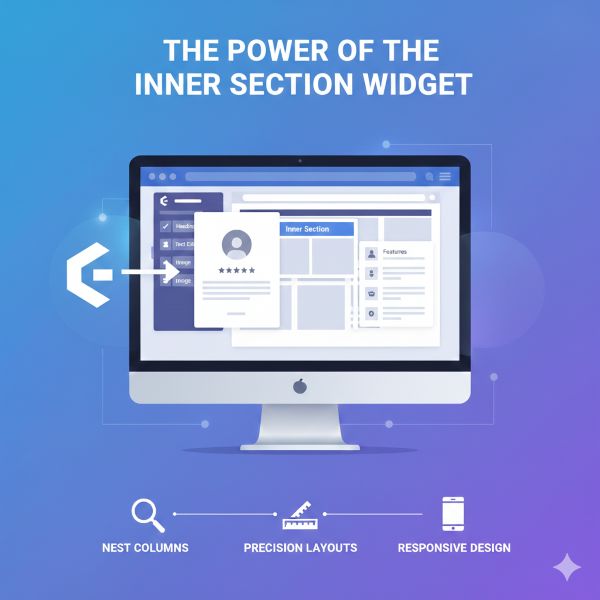
- Flexbox Containers: I have stopped using Sections and Inner Sections entirely. Containers help me reduce the number of HTML tags (DOM size). When I reduce the DOM depth, I inherently speed up Elementor website parsing speeds for the browser.
- Grid Containers: Just like Flexbox, the CSS Grid container is a powerful tool to maintain a lean code structure while creating complex layouts.

Advanced Image Optimization I Use to Speed Up Elementor Website
Images usually account for the bulk of my page weight. In 2026, I have shifted my workflow to follow these three specific rules to speed up Elementor website visual assets:
- AVIF Over WebP: While I used to love WebP, I now use AVIF because it offers 30% better compression at the same quality. Smaller files mean faster downloads, which is the most direct way to speed up Elementor website page weight.
- Fetch Priority: For my “Hero” images, I manually set the fetchpriority=”high” attribute. This tells the browser to download that image before anything else. This single step has done more to speed up Elementor website LCP scores than almost any other tweak.
- How I apply Fetch Priority: > Most people miss this because Elementor doesn’t have a toggle for it yet. You’ll need to add an “HTML” widget above your hero image or use a snippet to inject this attribute into the first <img> tag: HTML- > <img src=”hero-image.avif” fetchpriority= high alt=”Optimized Hero>
- Lazy Loading Strategy: I ensure lazy loading is active for everything below the fold, but I never lazy load my logo or hero image. Proper lazy loading is a cornerstone of my strategy to speed up Elementor website interaction times.
Cleaning the Bloat: My Plugin and Script Audit
To speed up Elementor website workflows, I have had to become ruthless with my plugin list. Every plugin is a potential bottleneck.
Disabling Unused Widgets
I use Elementor’s “Element Manager” to deactivate every single widget I am not using. It is a simple way to speed up the Elementor website backend and frontend by preventing unnecessary JavaScript from loading in the background.
If you aren’t using the “Flip Box” or “Price Table,” turn them off.
Script Sandboxing and Delaying
I use tools like Perfmatters to “delay” non-essential scripts. For example, my Google Analytics, Facebook Pixels, or Chatbots don’t need to load the millisecond a user hits the page.
By delaying these until the first user interaction (like a scroll or a click), I can dramatically speed up Elementor website initial load times and improve my INP scores.
Database Maintenance
Once a week, I clear out my post revisions, trashed comments, and expired transients. A bloated database slows down server-side processing.
Keeping a lean database is an overlooked but vital way to speed up Elementor website query speeds.
The 2026 Performance Metrics Table
I use this table as a checklist for every project to ensure I successfully speed up Elementor website performance across the board.
| Metric | 2026 Elite Goal | Key Fix to Speed Up Elementor Website |
| LCP | < 1.5s | AVIF Format & fetchpriority=”high” |
| INP | < 200ms | Script Delaying (Perfmatters) & CSS Grid |
| CLS | < 0.1 | Aspect Ratio Boxes & Flexbox Containers |
| TTFB | < 100ms | Full-Page Edge Caching (Bunny.net/Cloudflare) |
| Page Weight | < 1MB | Ruthless Asset Manager (Disable Unused Widgets) |
Troubleshooting Common Bottlenecks
Even with the best intentions, you might run into issues. When I try to speed up Elementor website projects, and the scores don’t budge, I look for “The Hidden Killers.” These include third-party fonts and unoptimized Google Maps embeds.
In 2026, I always self-host my fonts and use a static image placeholder for maps. This ensures that external servers don’t dictate how I speed up Elementor website performance.
Another common issue is the use of too many Google Fonts weights. I now limit my sites to two weights per font family. It might seem like a small detail, but when you are trying to speed up Elementor website load times, every kilobyte counts.
Your Path to a Faster Future
I have found that optimizing my site is a continuous process, not a one-time task.
By leveraging the latest “Edge” technologies, embracing the AVIF format, and mastering Elementor’s container system, I am able to provide a lightning-fast experience that keeps my users happy and my SEO rankings high.
Remember, the effort you put in to speed up Elementor website performance today will pay dividends in user retention and search engine visibility for years to come.
Performance is a journey. As web standards evolve, my methods to speed up Elementor website builds will also evolve. Stay curious, stay testing, and never settle for a slow site. Your visitors deserve better, and your business depends on it.
About the Author
I am a Senior Web Performance Architect with over a decade of experience in WordPress optimization. My obsession with speed began when I realized how much revenue my clients were losing due to slow load times.
Since then, I have dedicated my career to mastering page builders and server-side configurations. I specialize in helping businesses speed up Elementor website performance without sacrificing the beautiful, high-end designs that make the web a vibrant place.
When I’m not auditing Core Web Vitals, you can find me contributing to open-source performance projects or experimenting with the latest edge-computing trends.
Ready to speed up Elementor website performance? > Don’t let DOM bloat kill your SEO. [Book your 1-on-1 Performance Audit here] and let’s get your site into the green.
Will switching to Flexbox Containers really speed up Elementor website performance?
Yes, absolutely. Containers reduce the HTML nesting depth significantly. Fewer “div” tags mean the browser has less code to parse, which directly helps to speed up Elementor website rendering and improves CLS scores.
Is AVIF better than WebP for image optimization?
In 2026, AVIF is the superior choice. It offers roughly 30% better compression than WebP. When you use AVIF, you reduce the total page weight, which is one of the most effective ways to speed up Elementor website load times on mobile devices.
Do too many plugins always slow down a site?
Not necessarily, but the quality and loading behavior of plugins matter. To speed up Elementor website performance, you should focus on plugins that are well-coded and use “delaying” techniques for their scripts.
How does Edge Caching help to speed up the Elementor website?
Edge caching places your site’s files on servers located all over the world. Instead of a user in London waiting for a server in New York, they get the file from a server in London. This is the fastest way to speed up the Elementor website TTFB.
What is the most important metric to focus on in 2026?
While all Core Web Vitals matter, INP (Interaction to Next Paint) is the rising star. To speed up Elementor website interaction, you must minimize main-thread work by reducing and delaying JavaScript execution.